So, today, I am throwing calories out the window…these little confections might not be the most figure flattering thing out there, but really they pack a pretty nutritious punch!On Saturday, Gavin and I had a lazy, absolutely wonderful day. It was sunny and 70 and we took full advantage of it. As I said before, our friend Rich lets us use his lovely kitchen when he is out of town, or really any time I want to cook on something besides a hot plate! So, Rich is in Aspen for 2 weeks and we have been taking full advantage of his kitchen and beautiful outdoor living spaces. Saturday started with a nice long run to meet Gavin for brunch at Bakeshop and ended with an afternoon of cooking and baking and sitting on Rich’s back porch enjoying the evening!One of our Saturday culinary adventures was Carrot Cake Cookie sandwiches. Our friend Zach left for South Africa on Monday and I decided that he needed a tasty treat for his 16 hour flight. He absolutely loves carrots and peanut butter. During our trip to Cambodia, he probably ate carrots and peanut butter for lunch every other day. So, I decided to blend his two favorite things together in the form of a handy, easy to eat on an air plane, sandwich.These cookies are really the perfect snack when are craving something sweet. They pack all of the vitamin A of carrots, all of the whole grains of oats, and all of the protein and “good fats” of peanut butter. This recipe can be easily modified by switching out the butter for greek yogurt (add even more protein), the white flour for whole wheat, and the white sugar for honey. Then, they would be a super healthy (not quite as moist) snack!Carrot Cake Cookie Sandwiches1/2 cup packed light-brown sugar
1/2 cup granulated sugar
1/2 stick unsalted butter, room temperature
1 large eggs
1/2 teaspoon pure vanilla extract
1 cups all-purpose flour
1/2 teaspoon baking soda
1/2 teaspoon baking powder
1/4 teaspoon salt
1 teaspoon ground cinnamon
1/4 teaspoon ground nutmeg
1/4 teaspoon ground ginger
1 cups old-fashioned rolled oats
1 cups finely grated carrots12 teaspoons of creamy natural peanut butterIn a large bowl combine brown and white sugar and softened butter. Beat until light and fluffy. Add the egg and vanilla and beat on medium speed until well combined.In another large bowl, combined flour, baking soda, baking powder, salt, cinnamon, nutmeg and ginger and fluff with a fork until well combined. Gradually add the flour mixture to the butter mixture and mix well.Add the oats and carrots…stir until combined and then chill for an hour.Preheat the oven to 350 degrees and line a cookie sheet with foil and spray with cooking spray. Using a teaspoon, place little collops of dough 2 inches apart and back for about 12 minutes. Cool the cookies completely on a wire rack.Once the cookies are completely cool, gently spread 1 teaspoon of peanut butter on one cookie and then make a sandwich with a second cookie.Store in a well sealed tupperware. Makes 12 sandwiches.
You are currently browsing the archive for the Recipes category.
In June of last year, I decided to start training for my first half marathon. Honestly, I only really did it because my dear friend Molly asked me to train with her and I thought it would be a lovely bonding experience. It was…we suffered through the 17 week training together…but by about week 10, something happened. Even though my knees hurt and my IT band was killing me, I fell in love with running. My 40 minute runs quickly became my favorite time to spend with God and my weekly long runs pushed me to depend on Him even more because it was something that I knew I could never do on my own. One Sunday, we had to run 17 miles. I WAS NOT A RUNNER and the thought of running 17 miles literally blew my mind…I thought it was impossible. But, I did it, and it was such an amazing worship experience! After mile 12, I felt like every step was being directly propelled by God.
Molly and I finished our first half on October 3rd, and after that, I was hooked on running. I am probably the least competative person on the plant, so for me, it is not about record breaking speed…it is just “my time” and I have come to love it. I have also come to realize the importance of fueling your body with the right kinds of foods…starting with breakfast!
Breakfast is my favorite meal of the day. Gavin and I work from home so it is always our uninterrupted time together…I go for a run, he goes to the gym, and then we meet back at home, make coffee, plan out the day, and sit and enjoy our meal. Monday through Friday, we eat the same thing every morning, egg whites and oatmeal. Yes, I admit that sounds a little boring…but it has become like comfort food and the perfect fuel for any length run. I eat 4 egg whites and 1/2 cup of oatmeal…which starts my day with 214 calories (about 300 when I add oatmeal toppings) 21 grams of protein, 3 grams of fat, 27 carbs and 4 grams of dietary fiber. To me, it is the perfect meal to fuel any day and keep me full through lunch time!
Oats not only taste delicious…they are super good for you..here’s why: (List taken from Mr.Breakfast.com)
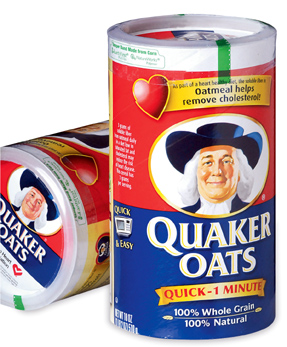
Over 40 studies show that eating oatmeal may help lower cholesterol and reduce the risk of heart disease. According to Quaker, all it takes is 3/4 cupof oatmeal each day to help lower cholesterol.The soluble fiber in oats helps remove LDL or “bad” cholesterol, while maintaining the good cholesterol that your body needs. In January 1997, the Food and Drug Administration announced that oatmeal could carry a label claiming it may reduce the risk of heart disease when combined with a low-fat diet.
The soluble fiber in oatmeal absorbs a considerable amount of water which significantly slows down your digestive process. This result is that you’ll feel full longer, i.e. oatmeal can help you control your weight.
You probably already have oats in your kitchen. It’s estimated that eighty percent of U.S. households currently have oats in their cupboards.
New research suggests that eating oatmeal may reduce the risk for type 2 diabetes. In fact, the American Diabetes Association already recommends that people with diabetes eat grains like oats. The soluble fiber in these foods help to control blood glucose levels.
With the exception of certain flavored varieties, the oats found in your grocery store are 100% natural. If you look at the ingredients on a canister of rolled oats, you will usually see only one ingredient… rolled oats.
According to recent studies, a diet that includes oatmeal may help reduce high blood pressure. The reduction is linked to the increase in soluble fiber provided by oatmeal. Oats contain more soluble fiber than whole wheat, rice or corn.
Oatmeal contains a wide array of vitamins, minerals and antioxidantsand is a good source of protein, complex carbohydrates and iron
The fiber and other nutrients found in oatmeal may actually reduce the risk for certain cancers.
Oatmeal is quick and convenient. Every type of oatmeal can be prepared in a microwave oven. Even when cooked on the stovetop, both old-fashioned and quick oats can usually be made in less than 10 minutes. And what about instant oatmeal… a hot breakfast in under a minute… incredible!
Oatmeal can be absolutely delicious! Whether instant, cooked on the stove or baked in the oven, the combination of flavors you can fit into a serving of oatmeal is limited only by the imagination. Visit Mr Breakfast’s Oatmeal Collection to see just 60 of the ways you can start to enjoy oatmeal today!
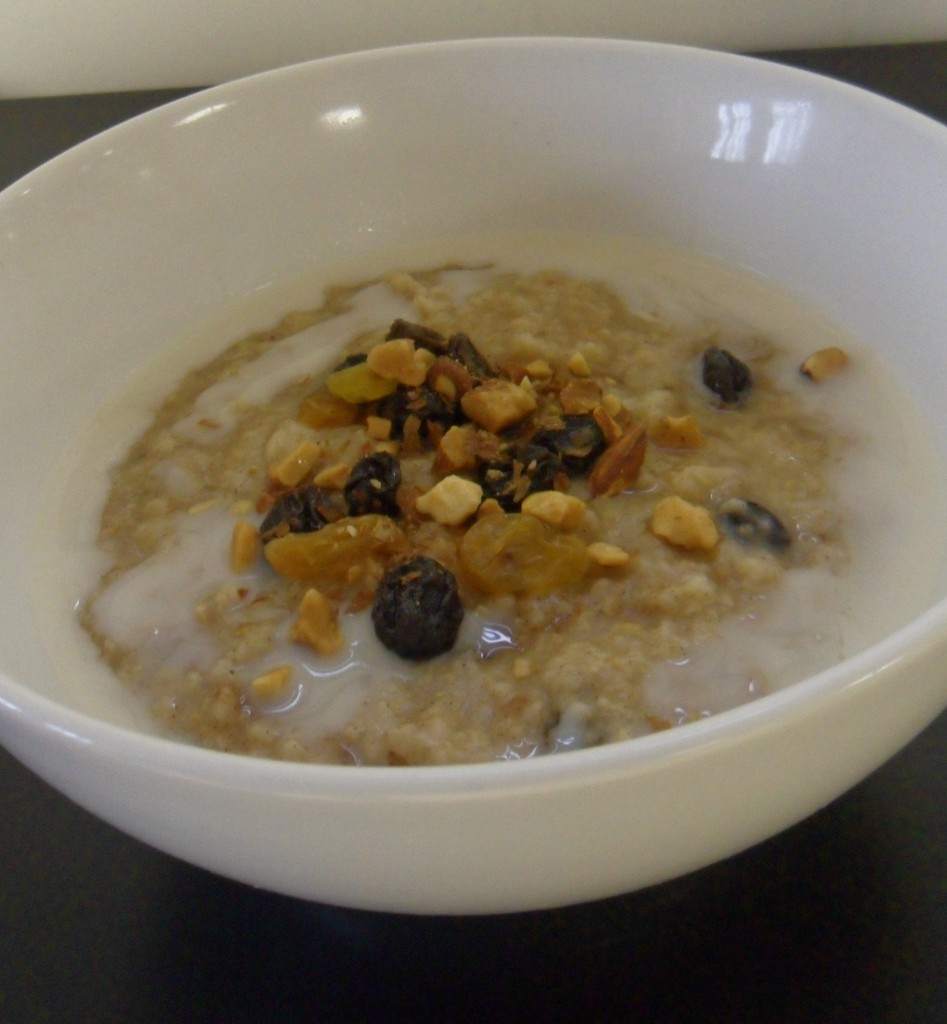
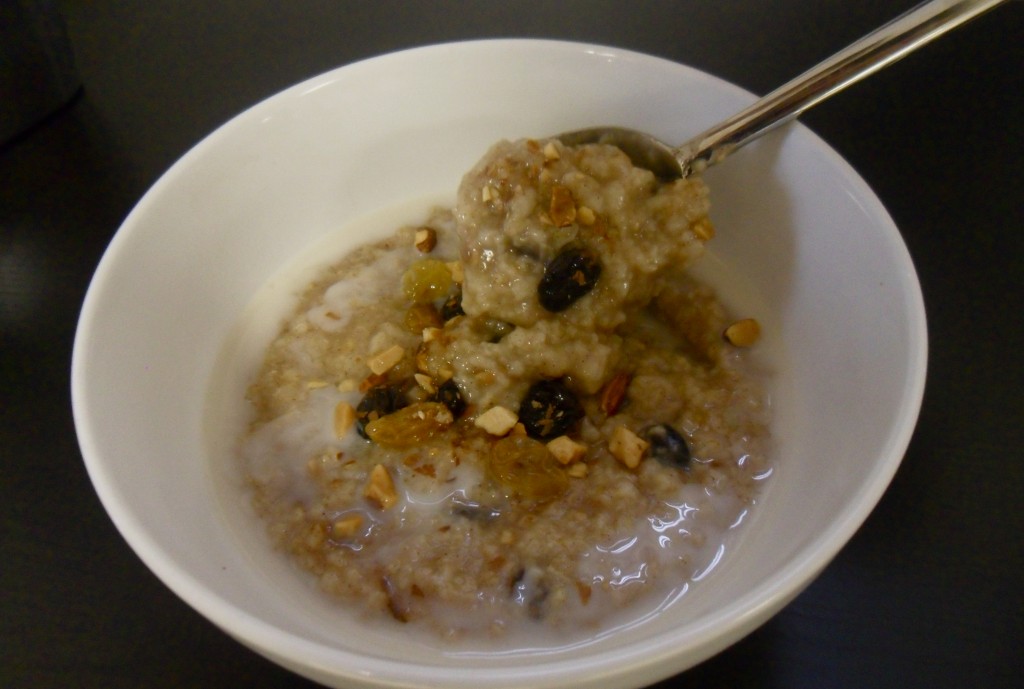
Oatmeal is super versatile and can taste like dessert…it is satisfying and yummy…so in honor of one of my favorite foods…I am going to start posting all of the different ways that I enjoy oatmeal! I start with unflavored quick cook oats and jazz it up from there. Today, I made what I like to call the Oatmeal Cookie!
Oatmeal Cookie Oats
1/2 Cup quick cook oats
1 1/2 Cups water
1/4 teaspoon sea salt
2 teaspoon Stevia (I use Truvia)
1/2 teaspoon vanilla extract
1/2 teaspoon ground cinnamon
1 Tablespoon raisins
1 Tablespoon chopped nuts of your choice (I like almonds)
**1/4 Cup unsweetened vanilla almond milk after cooking
Now, here is the best part: You can simply throw all of the ingredients in a bowl and microwave it for 4 minutes…or throw them all in a pot and cook over medium heat until it is thick and creamy! I love vanilla almond milk, so I top it with 1/4 cup of unsweetened vanilla almond milk.
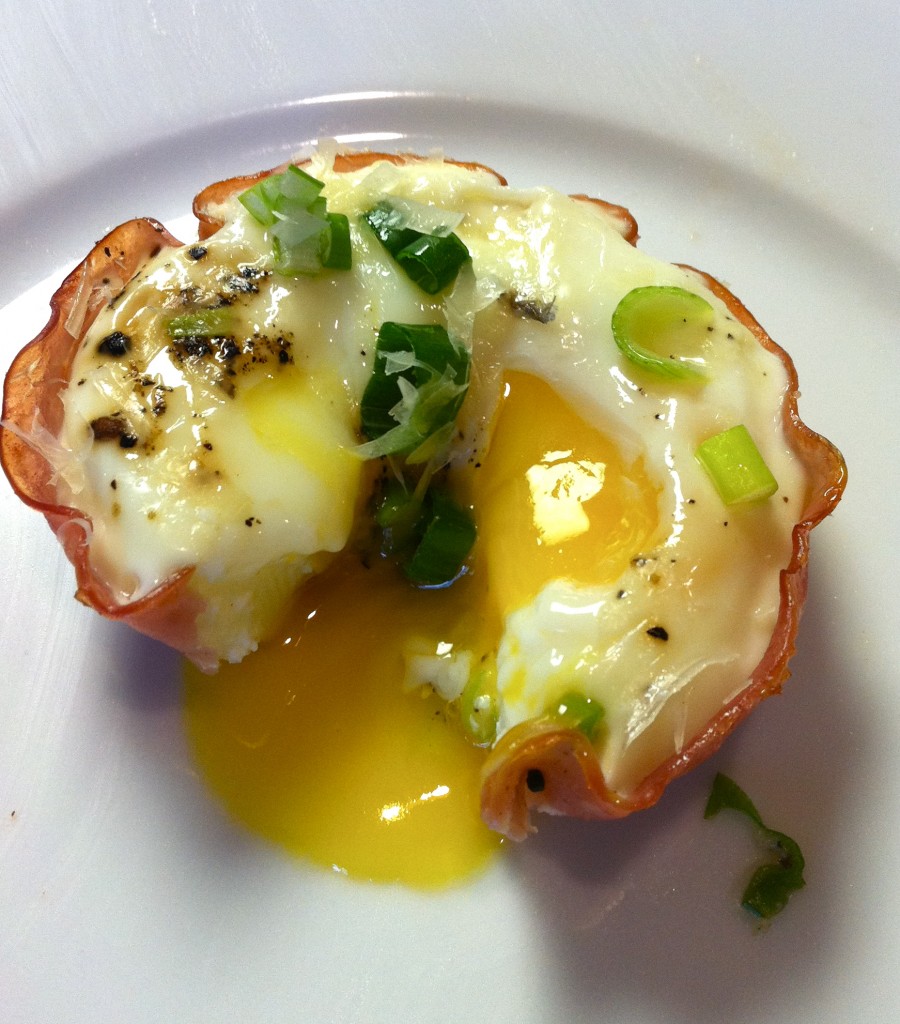
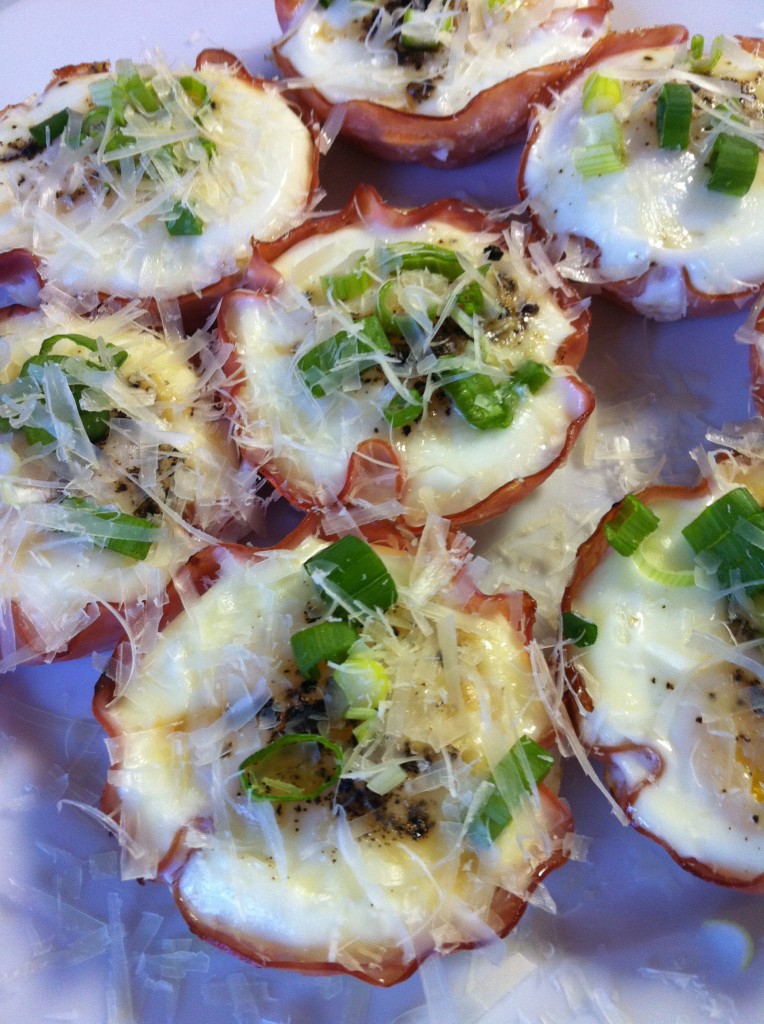
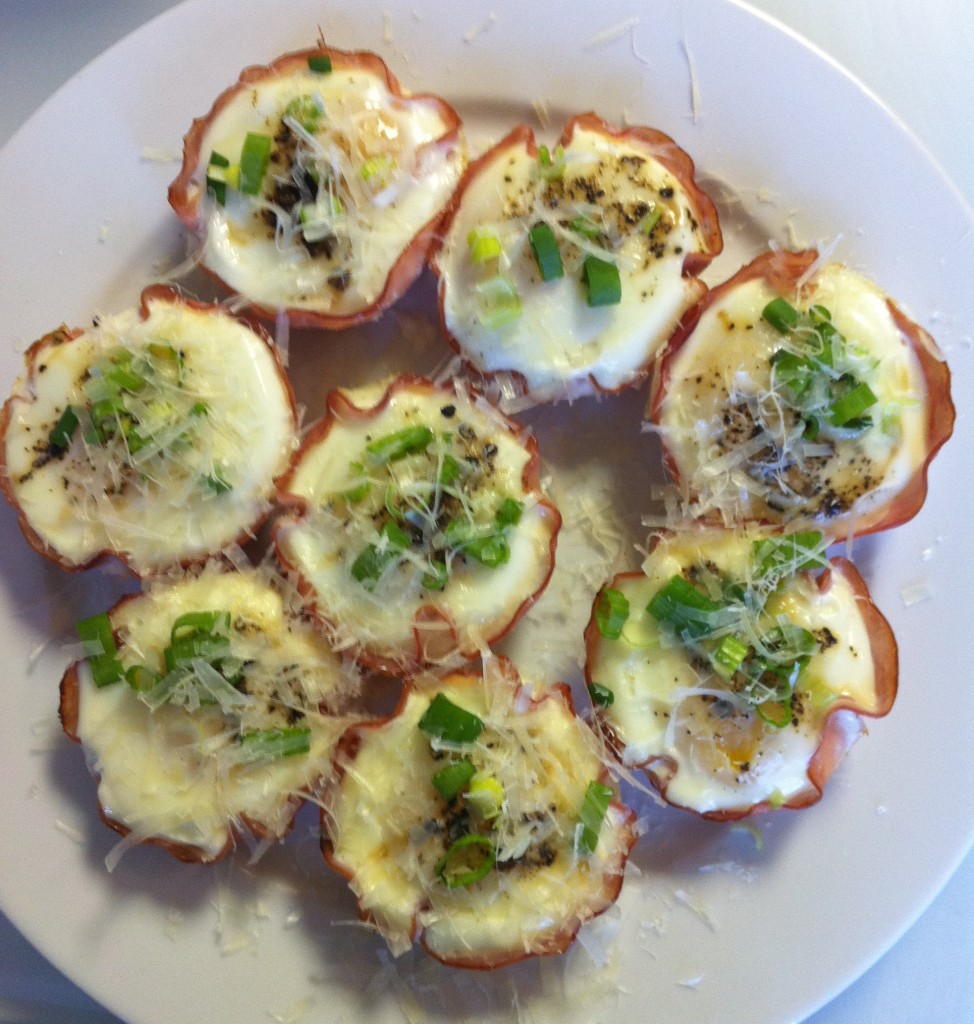
Even though I have had some rough egg experiences lately…the century egg, and little birdie fetus…I have not given up on one of my favorite foods. While eggs can be made to taste more disgusting that I ever thought possible, they can also be creamy, protein packed perfection and in the case of the baked egg cup, they are just that!
The other morning, we had our friend Zach and one of his friends over for breakfast. Zach was our travel partner in Cambodia, and he is moving to South Africa on Monday, so we are trying to soak up as much Zach time as possible! Gavin made some delicious whole wheat banana’s foster pancakes (I think I should enlist him has a guest blogger to share his pancake secrets!) and I made baked eggs in ham cups. These little cups are the perfect pairing with any breakfast…they are SUPER easy to make, and packed full of healthy lean protein…one lovely little cup has only 100 calories and 17.6 grams of protein…not to mention lots of creamy, dreamy cheesy flavors. So, whether it is Saturday morning brunch, or a quick grab-and-go Monday morning breakfast (you can throw one of these egg cups in a whole wheat english muffin for good food on the go) these egg cups are a definite winner in my book.
Baked Egg Cups
12 Eggs
12 thin slices of deli ham (round)
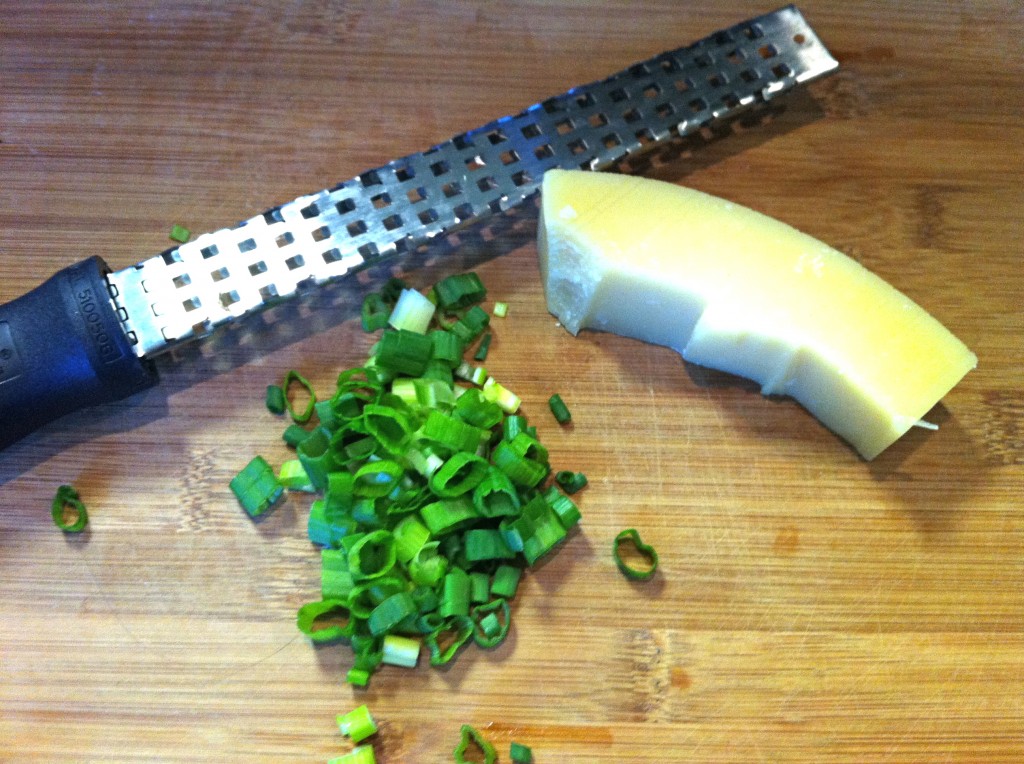
1/2 Cup of your favorite cheese (I used Parmesan)
1/2 Cup diced scallions
Fresh cracked Sea Salt and Pepper
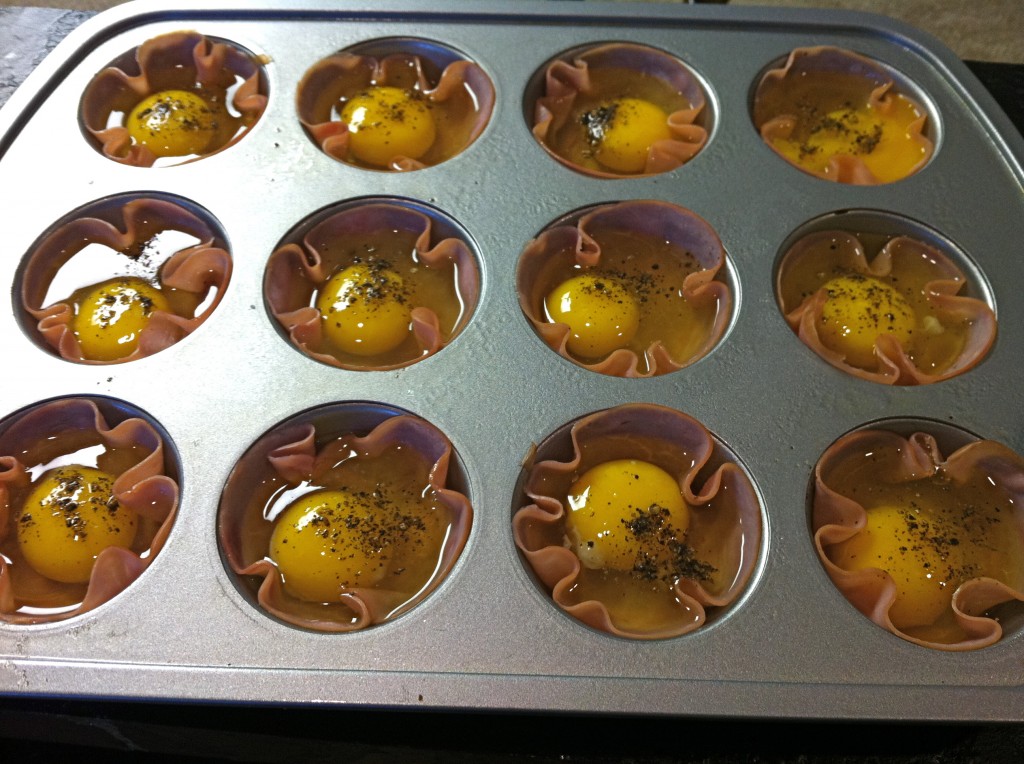
Preheat the oven to 400. Spray a muffin tin with cooking spray. Lay a piece of ham in each hole creating a little ham cup. Crack one egg into each hole and sprinkle with salt and pepper.
Bake the eggs for about 12 minutes…until the white is firm and the yolk is still nice and runny.
Carefully remove each egg from the muffin tin and top with grated cheese and scallions. Serve hot! Yield: 12
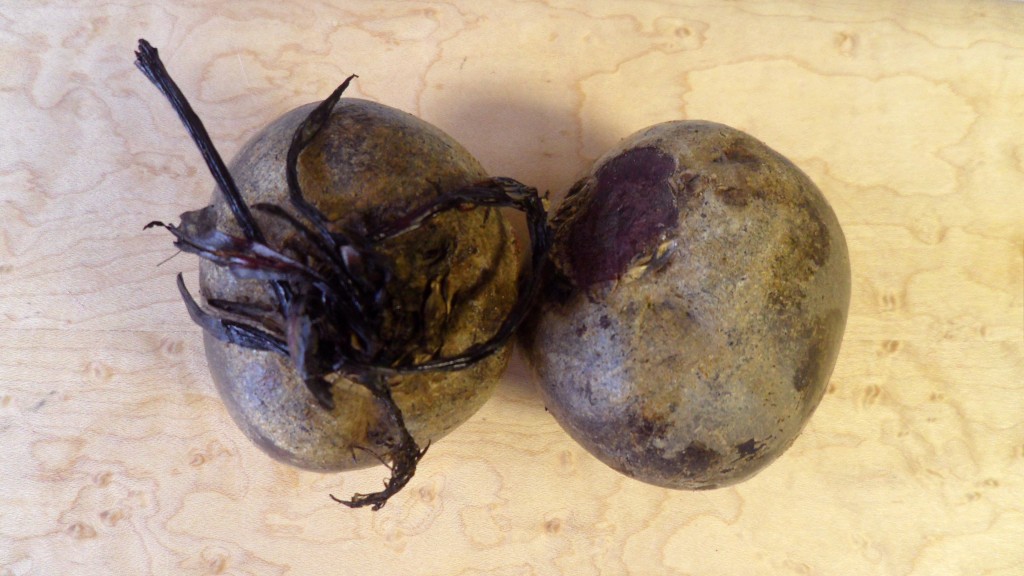
Beets tend to be a controversial subject. You either love them, or you hate them. I happen to absolutely love them…yes, I admit, they have a very “earthy” flavor…but that is what I love about them! When I eat a beet, I feel like I am doing something good for my body…fueling it with something more than just a simple carb or even a normal vegetable. In my book, beets are a superfood…and here is the evidence to prove it!
(Info from www.aimforherbs.com) One cup of raw beets contains phosphorus, sodium, magnesium, calcium, iron and potassium, as well as fiber, vitamins A and C, niacin, and biotin. Beets contain folic acid, which is recommended for pregnant women because it may lower the risk of spina bifida and other neural tube defects in newborn infants. Beets are know to detoxify blood and renewing it with minerals and natural sugars.
Beets are good for your heart, they help prevent birth defects, they help prevent certain cancers, they are good for detoxifying your liver, they help to strengthen your capillaries, prevent fatigue, cataract and respiratory problems…they are pretty stinkin’ super if you ask me!
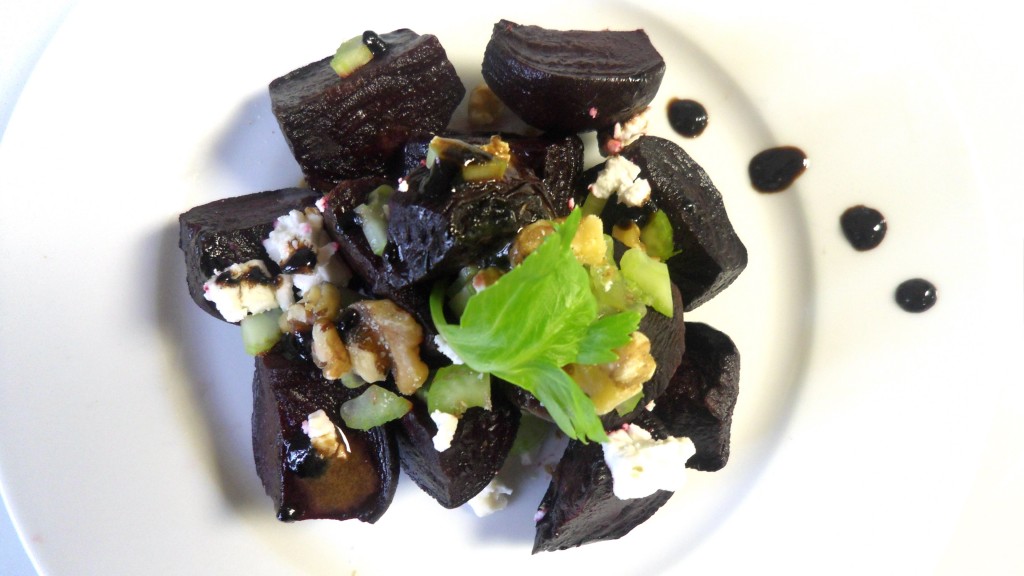
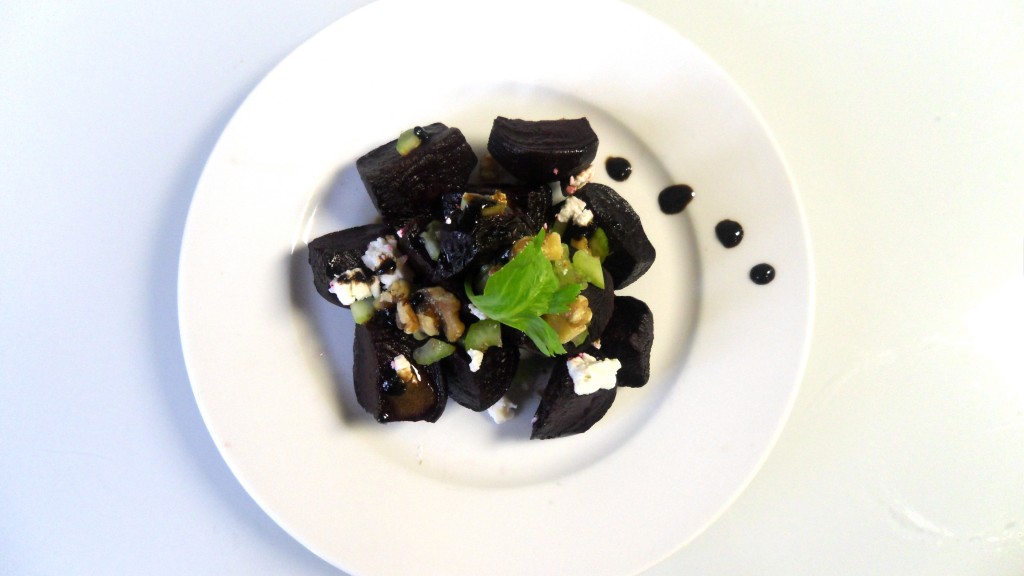
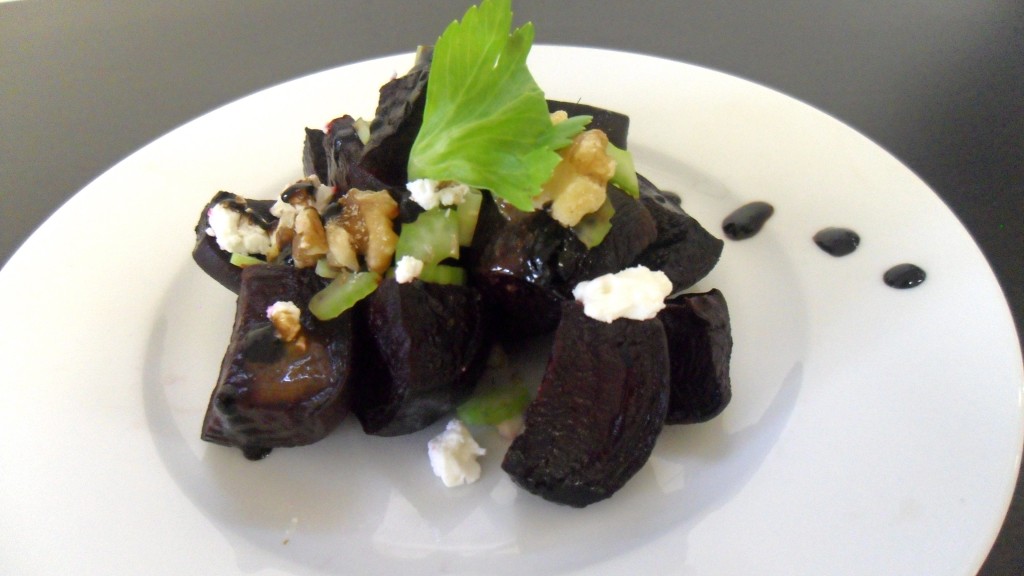
I try to eat beets a few times a week…I add them in all sort of foods…but one of my favorite ways to eat them, in all of their earthy glory, is the delicious, naturally sweet, super fresh, roasted beet salad.
Roasted Beet Salad:
15 small beets
1 teaspoon sea salt
1/2 teaspoon fresh cracked black pepper
2 stalks of celery, chopped
2 green onions, chopped
1/4 cup walnuts, chopped
1/4 cup feta cheese, crumbled
Drizzle of Balsamic Vinaigrette (recipe follows)
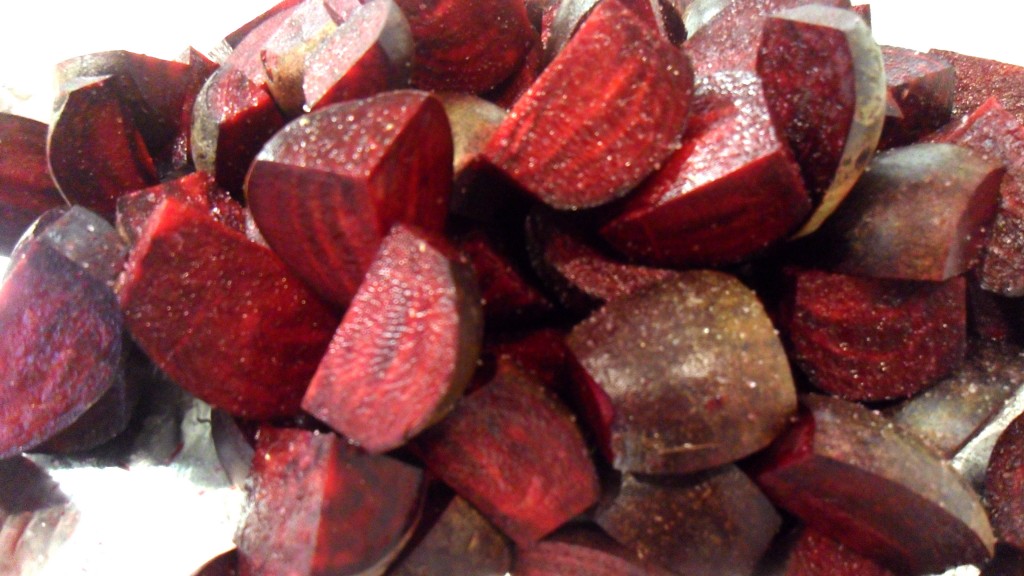
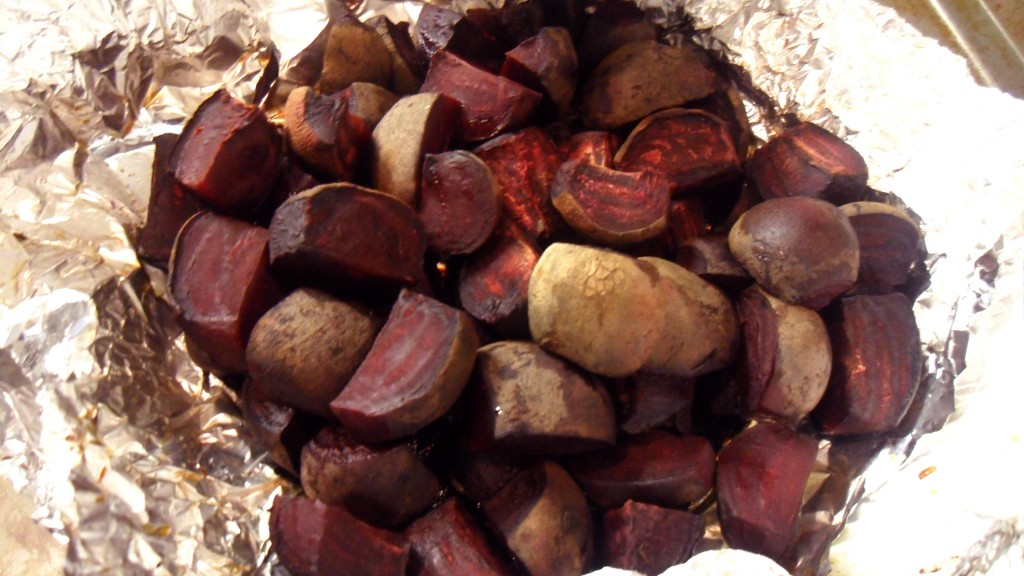
Preheat oven to 450 degrees. Wash beets thoroughly and cut off each end. Cut each beet into quarters and place on a large piece of aluminum foil sprayed with cooking spray. Sprinkle with salt and pepper.
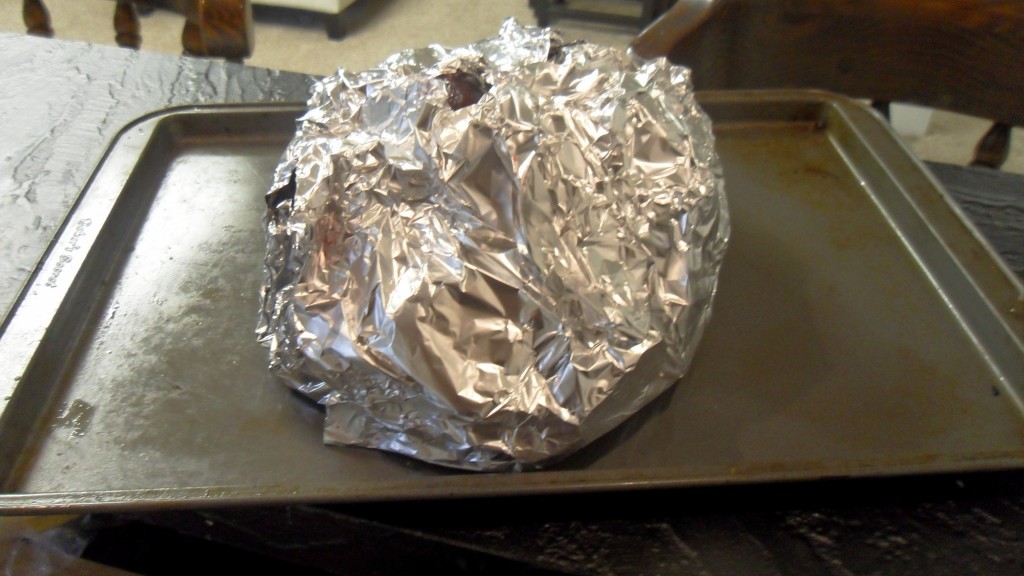
Wrap the beets in the foil, leaving a few little holes for air.
Bake for an hour and a half, or until the beets are dark purple and soft to the touch.
After the beets cool, you can easily peel the skin off of each beet…I personally don’t mind the skin, so I leave it on…but if I was serving it to others, I would peel off the skin!
To make the salad, place your beets in a serving bowl and top with chopped celery, walnuts, feta cheese and green onions. Drizzle withe balsamic vinaigrette and toss gently. This delicious salad will keep in your fridge to munch on all week!
Balsamic Vinaigrette
1/4 cup balsamic vinegar
1 large clove of garlic
1 Tablespoon brown sugar
1 Tablespoon dijon mustard
1 Tablespoon olive oil
1/2 teaspoon salt
1/4 teaspoon fresh cracked black pepper
Throw all of the ingredients in a blender, food processor, or magic bullet and blend until smooth!
After enjoying Bangkok for a few days, we hopped an overnight bus to Chiang Mai…a city located about 9 hours north of Bangkok. We arrived around 6am after a surprisingly decent nights sleep on the bus and found our way to the Holiday Inn. We have accumulated a lot of hotel points and decided to cash them in on the trip…and WOW, we are so glad that we did. The Holiday Inn in Chiang Mai made us feel like royalty….not only was our stay free, they upgraded us to a suite that was basically bigger than any apartment that we have lived in. We had an unbelievable view over the Ping River and really the entire city. We were spoiled with fresh fruit baskets, chocolate trays, and fancy drinks through out our stay…what a huge, relaxing blessing!
Once we settled into our new home, we booked a cooking class (probably our favorite part of the trip so far). We were picked up from our hotel by Yui in a 1960′s VW van and taken to her beautiful home to learn to cook Thai food. Yui is an excellent chef known throughout Chiang Mai and we were so impressed by not only her teaching methods, but also the care and technique that she puts into each dish.
When we arrived, she gave us the run-down on all of the most important Thai ingredients. What they are used for, what they should be paired with, and how they should be used to best enhance a dish. Then we dove straight in to the cooking with the most obvious choice of dishes…Pad Thai! We each had our own cooking station…so Yui lead us step by step through the proper use of a wok, the proper cutting techniques and took us step by step through making the PERFECT Pad Thai dish. It had a much different taste than Pad Thai that I have had in the states…the flavors were clean and simple, with just a little added zing from the Thai chili. After tasting our first dish, we were even more excited for what was to come.
After thoroughly enjoying the Pad Thai, we moved on to another favorite, Tom Yum Soup. Again, the soup was much easier than it would seam…we started with a basic mushroom broth and then added lots of amazing fresh Thai herbs (that I am really hoping to find in Atlanta), then topped it off with pranws, mushrooms and some perfectly ripe tomatoes. The result…a wonderfully soothing, hot and sour soup. Tom YUM!
After the soup, we moved on to the most challenging dish…Thai curry. I say it is the most challenging dish because we used home-made red and green curry paste…which has about a million ingredients. We started with some super creamy coconut milk, followed by garlic and spices, curry paste, onions, Thai green eggplant (think bitter zucchini) and chicken. Gavin made the green and I made the red so that we could try both. Once the dishes were finished, Yui brought out a combination of brown, black and purple steamed rice and even though we were quite full, we ate again and it was the richest, creamiest, yummiest Thai curry I have ever had.
After our tummies were about to burst from all of the amazing food, we took a break to head to the local market for a tour and further introduction of Thai veggies, herbs, spices, rices and noodles. If you know me, you know that one of my favorite places in the world, no matter where in the world I am, is the local market. I think that these markets are the heart beat of a culture…we spent about an hour walking around, asking questions, trying new fruits and veggies and getting to know the locals (Gavin and I ended up eating every other meal that we consumed in Chiang Mai, right there in that market!)
After our nice market break, we headed back to the house to start our next dishes. Cashew chicken was next on the list. Honestly, I wasn’t super excited about this one…it seems pretty boring…but let me tell you, I was eating my words because this one turned out to be my favorite dish. We started with crispy red peppers, shallots, peppers, garlic and onion, then added the chicken, soy sauce, oyster sauce and fish sauce. We finished it with the cashews, and fresh green onion. It took all of 3 minutes to cook, but it was so light and fresh and perfectly crispy…sweet and spicy…so so good!
At this point, I would have been completely satisfied going home because everything was just so good, I felt like we had learned so much, and we were so full…but we still had 2 dishes left.
We moved on to “non-greasy” spring rolls (these weren’t my favorite because they were a little boring but I am glad I learned how to make them!) We started these rolls with chicken, cabbage, carrots, soy sauce, salt and pepper and then threw in some rice noodles at the last minute. Then, came the hard part…the rolling technique. We were given two spring roll wrappers and we scooped filling onto each. They key to a non-greasy spring roll is the way that you roll it. It has to be super tight, the same thickness throughout and folded at an exact angle to prevent grease from getting trapped. Not gonna lie, it took me a good three tries to get it right. Then we headed for the wok filled with oil and fried our rolls until they were golden brown. When finished the rolls were beautiful and perfectly crisp (I just thought they needed a little spice)!
The last dish was AMAZING. Coconut sticky rice with custard and fresh mango. Though I have loved all of the new fruits that I have tried here in Thailand, mango still holds the keys to my heart….There really isn’t much that taste better to me than a cool, perfectly ripe mango…when you combined this mango with gooey coconut sticky rice and lightly sweetened coconut custard, it makes the perfect dessert….so perfect, that the one picture I took is terrible and makes the dish look pretty unappetizing because we dug in before I thought to take a picture!
Gavin and I work from home so I am always trying to think of yummy, but quick and easy lunches for us during the week. Yesterday I found a lovely piece of Salmon a Kroger and made a super quick lunch with it today (literally takes 10 minutes!) I like to try to eat salmon a few times a month because of the heart healthy omega 3′s and this salad is a great, easy way to add it to your diet!
Seared Salmon Salad
Tags: healthy fats, salad, salmon
I love sweet potatoes, really love them! Sweet potato fries are one of my favorite little indulgences, but when it comes to sweet potatoes, I don’t discriminate. I love them roasted, baked, made into ice cream, used in bread and soups… they are so versatile and the best part is, they are SO good for you. A few years ago, I read that sweet potatoes are the one food item that you can live of off and get enough nutrition to be healthy and balanced. That’s pretty amazing!
Here are the STATS:
One medium sweet potato has 103 calories and 0.2 grams of fat. 23 carbohydrates, 438% of your daily needed vitamin A and it is packed full of other vitamins from all over the alphabet! They are a great source of dietary fiber, manganese and they are known to be a strong anti-inflammatory…so they are the perfect, tasty and satisfying addition to any meal! Who needs those super processed 100 calorie packs, grab a sweet potato and enjoy!
This year for Thanksgiving, I wanted to serve sweet potatoes, but I wanted to stay away from anything resembling the super fatty, super sugary sweet potato pie that is so dearly loved in the South. I had quite the challenge, because I had to come up with something equally as yummy to satisfy my hungry family…enter, the stuffed sweet potato! No, it is not the traditional sweet, gooey delight…its nothing like it…but it was a hit, and the perfect little side to kick up any week night meal.
Stuffed Sweet Potatoes
As I said before, I love to cook…but it goes a little deeper than that. Cooking is a way that I show people that I love them…I might not be very good with words, but to me, nothing says “I love you” like a home made dinner, or a fresh batch of bran muffins! So, its Christmas time…and I decided to make Christmas Brunch for some of the people that I love most in the world…
Because my kitchen is literally a wet bar in my grandparents basement (I’ll explain this a little more later) our lovely friend Rich so generously lets me use his kitchen when I want to cook something that requires a little more than a hot plate…so, these pictures are taken in his home…(side note: I usually try to focus on things being healthy AND yummy…but its Christmas, so this menu might be yummy, but the healthy part pretty much went out the window!)
Cinnamon Roll Baked French Toast (Make the night before)
This is my go-to recipe for breakfast with friends. It is SUPER easy and always a hit. You can make it the night before and then pop it in the oven while the coffee is brewing. I like to make a lighter version on “normal” occasions…I will share the tweeked recipe soon!
